This post is my step-by-step formula for writing my short-form LinkedIn posts.
I do this below by chunking up a real sample LinkedIn post.
Listen to this advice shared in the May 2020 edition of the LinkedIn Sofa, part of the You Are The Media podcast:
- Headline
- Body content
- Subheadings
- Lists and emojis
- Links
- Tagging
- Engagement prompt
- Images
- Hashtags
- The whole thing
- Let’s wrap up
Headline.

I start posts with an emoji and a short headline. The headline must relate to what follows. It should encourage clicks of the “see more” link, to make people read the rest of the post.
That’s a good signal to the LinkedIn algorithm to say that the post contains something of interest that would be worth showing to others.
Google now indexes LinkedIn posts, so think of the headline as though it were the title of a short blog post.
Body content.

I continue with short sentences and paragraphs that are no more than 3 sentences long.
We have 3000 characters (~520 words) to play with, which is a significant increase on the previous limit of 1300 characters. Nevertheless, keep your writing tight.
Subheadings.

Rich-text formatting is not possible, so ALL CAPS are a good way to indicate subheadings within the post.
You can use free services such as YayText to generate faux-bold and faux-italics for insertion into LinkedIn posts (and other plain-text fields), but there are a couple of problems with this:
- Screen readers may not be able to read the characters.
- Old Android devices may not be able to display the characters.
Be careful not to render essential info in such formatting, in case the audience can’t consume the message.
Lists and emojis.

Again, rich-text formatting isn’t possible in LinkedIn posts, so normal bullet lists aren’t going to work. But you can use emojis instead to achieve the same effect.
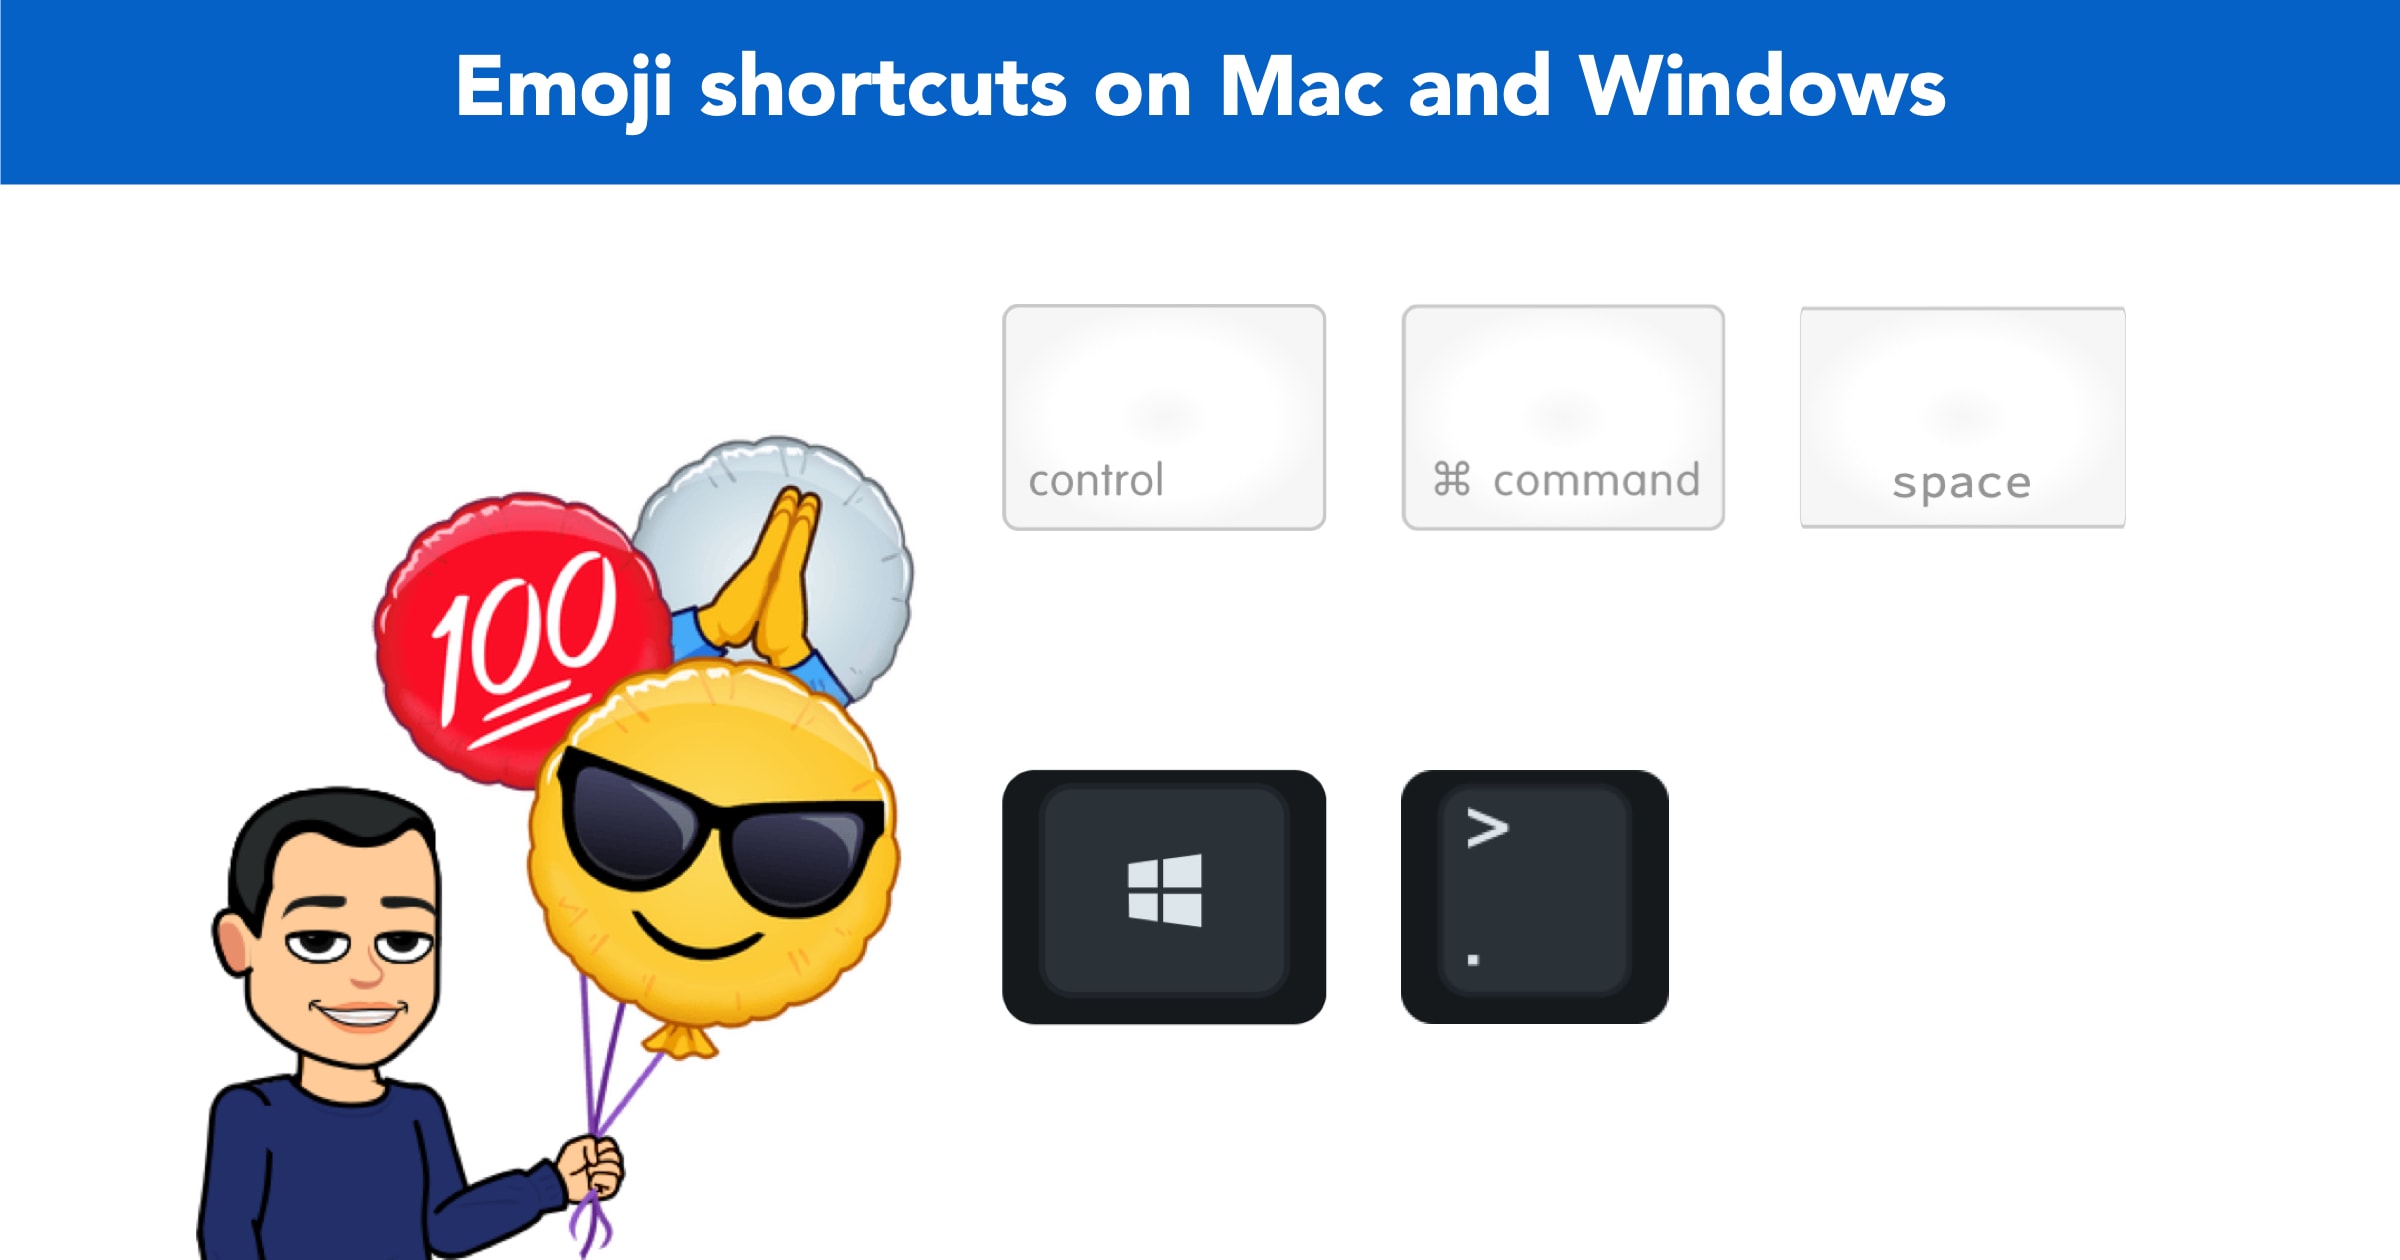
You can insert emojis on macOS and Windows by using these key combinations:
- macOS, press
Ctrl-Cmd-Space - Windows: press
Windows-.(full stop) ORWindows-;(semicolon)
Links.

Although links in LinkedIn posts aren’t penalised the way they used to be, you shouldn’t use that as an excuse to stuff links in everywhere.
Remember that people will prefer to get the content on the platform they’re currently on (LinkedIn) rather than being dragged away somewhere else (your website).
Tagging.

Tagging means writing the @ symbol followed by someone’s name, to send them a notification that they’ve been mentioned in a post or comment.
It’s a handy feature for getting someone’s attention, but it’s often overused.
Don’t annoy people! As above, no one wants to be a brick in someone’s tag wall.
Engagement prompt.

Aim to end by prompting the reader to engage with your post. A question or opinion is a good way to do this, and I like to accompany my questions with an emoji.
Conversation is what drives the visibility of your content, so think about ways that you can get your audience to share their thoughts.

If your content is a campfire, you want people to huddle around it, warm themselves up and share their stories – that commenting is what builds your community.
Images.
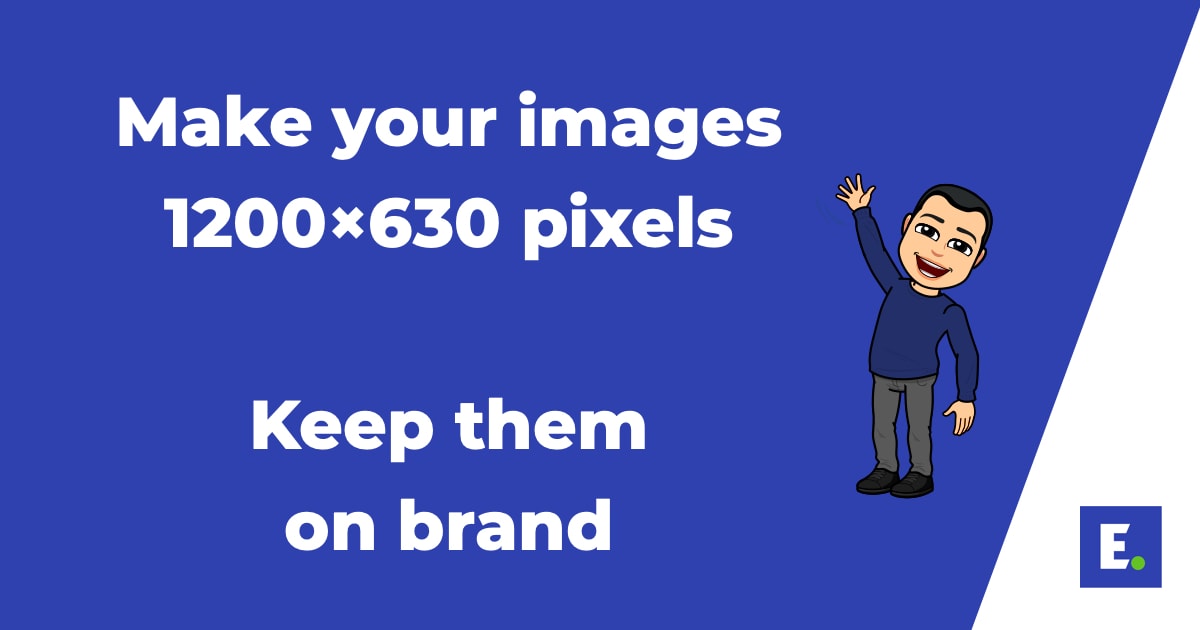
Use images that are 1200×630 pixels, as these dimensions work well for LinkedIn, Twitter and Facebook alike.
Keep your brand colours, fonts and other assets consistent, so that your content maintains the right “shape”.
Hashtags.

LinkedIn themselves suggest using no more than 3 hashtags per post, so that’s what I use in mine. I like to stack mine vertically, to aid readability.
See my article about creating and using branded hashtags.
The whole thing.
If we put all of the above together, we get the LinkedIn post embedded below.
Let’s wrap up.
That’s my formula for writing my short-form LinkedIn posts. It’s worked well for me since 2017. Adapt it and use it as you will.
This article was based on one of the slides from my LinkedIn Leaders Playbook course. If you want all my best thinking on LinkedIn, that’s the place to look.
