You’ve updated the featured image on your WordPress web page or blog post but the old image still appears when you share the content on social media. What to do?
This post shows you how to get your social media preview visuals and info right.
The above video explains the process. Alternatively, follow the steps below the video.
- Step 1: Update your WordPress page with a new preview image
- Step 2: Update your settings in Yoast SEO
- Step 3: Refresh the social preview information by using these tools
- Step 4: Share your link on social media
Step 1: Update your WordPress page with a new preview image
(If you want to update your social media previews with new descriptive text only, you don’t need to add a new featured image and can instead move to step 2.)
You’ve probably done this first bit already: updating the featured image on your web page or blog post.
You can either add your featured image into the body content of the post or select it as a featured image in the right-hand panel.

Step 2: Update your settings in Yoast SEO
At the bottom of the WordPress editor, edit the settings in the Yoast SEO plugin.
If you haven’t already installed Yoast, I highly recommend you do. It’s free and, as well as helping with Search Engine Optimisation, it lets you control the previews shown when you share links on social media.
Click the second tab to the left of the Yoast panel.
You’ll see two further tabs, one for Facebook and the other for Twitter. (There isn’t a tab for LinkedIn, but LinkedIn uses the information entered in the Facebook tab.)
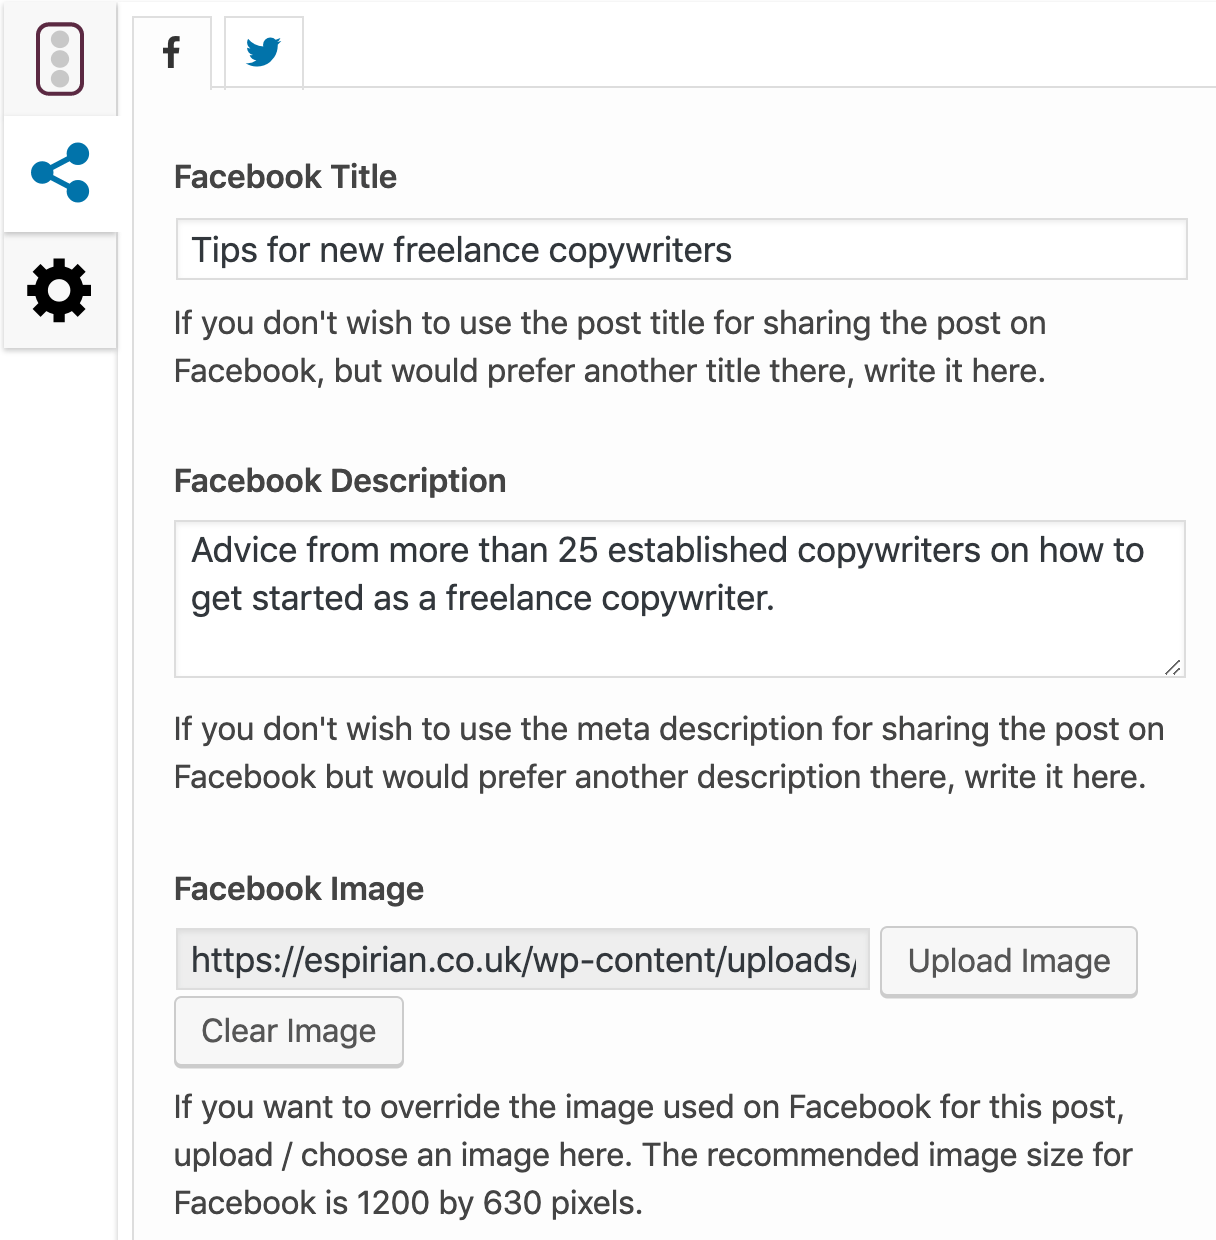
In each tab, click Upload Image to select your updated image from your WordPress media library.
The ideal image size for Facebook, Twitter and LinkedIn preview images is 1200×630 pixels. (Yoast suggests a different size for Twitter but you can ignore that.)
You can also update the description text that’s displayed when the link is shared on social media.
Remember to make your changes in both the Facebook and Twitter tabs. You don’t have to use the same text or image in each tab, though I do.
Click Update to save the changes.
At this point, sharing a link to your page or post on social media will still show the old preview information.
To fix this, you need to use the relevant free preview tool below.
Step 3: Refresh the social preview information by using these tools
Use these tools to check and refresh what your web page or blog post link will look like when you share it on social media:
Each tool prompts you to enter a full web address for the link to be checked. The act of checking means the tool gets the latest visual and text information associated with the page.
The screens looks like this:
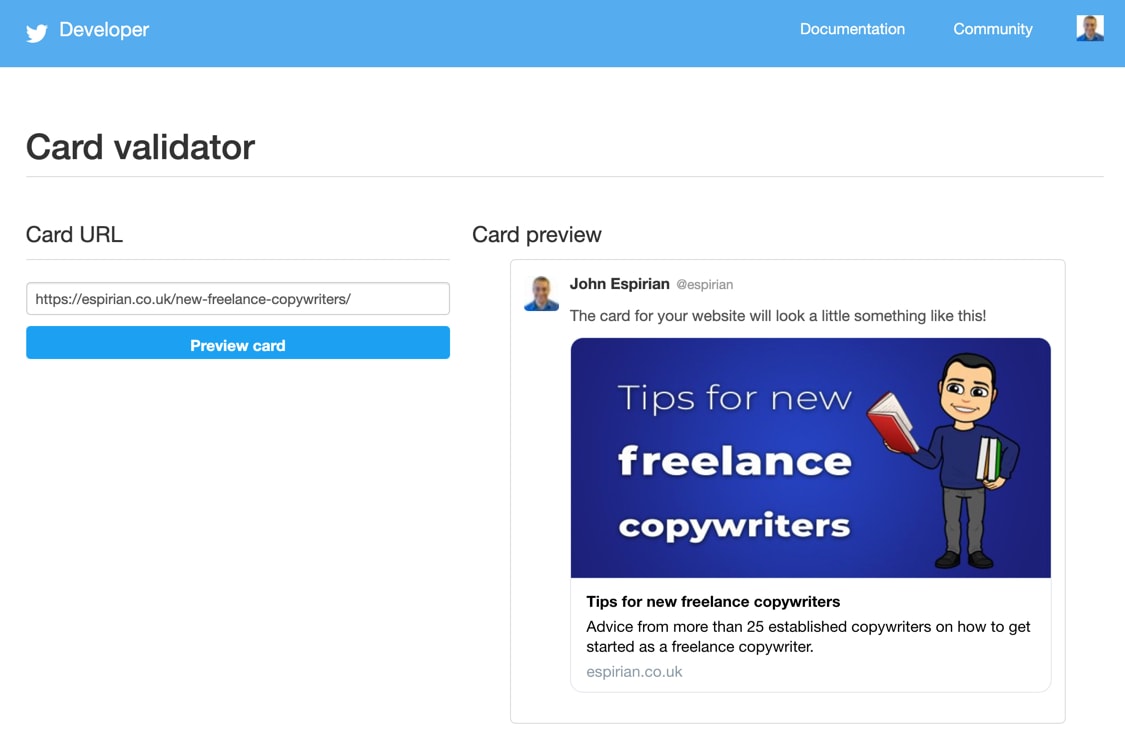
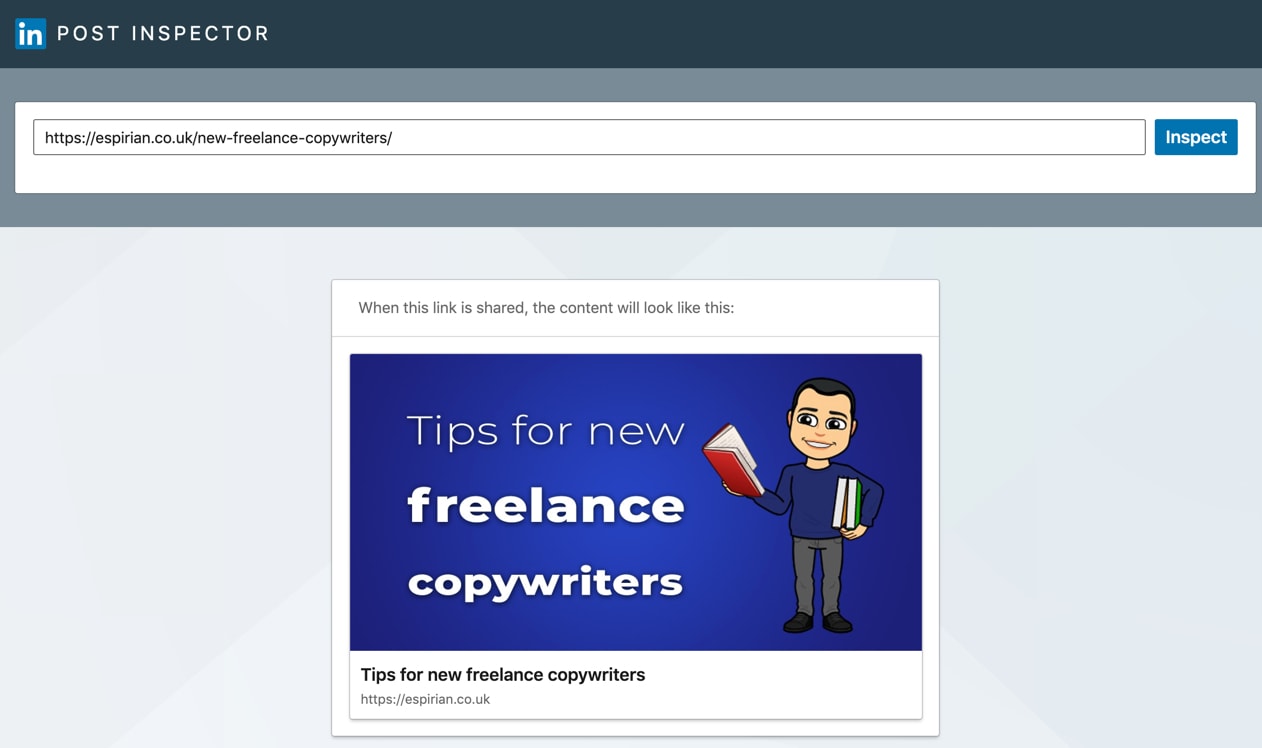
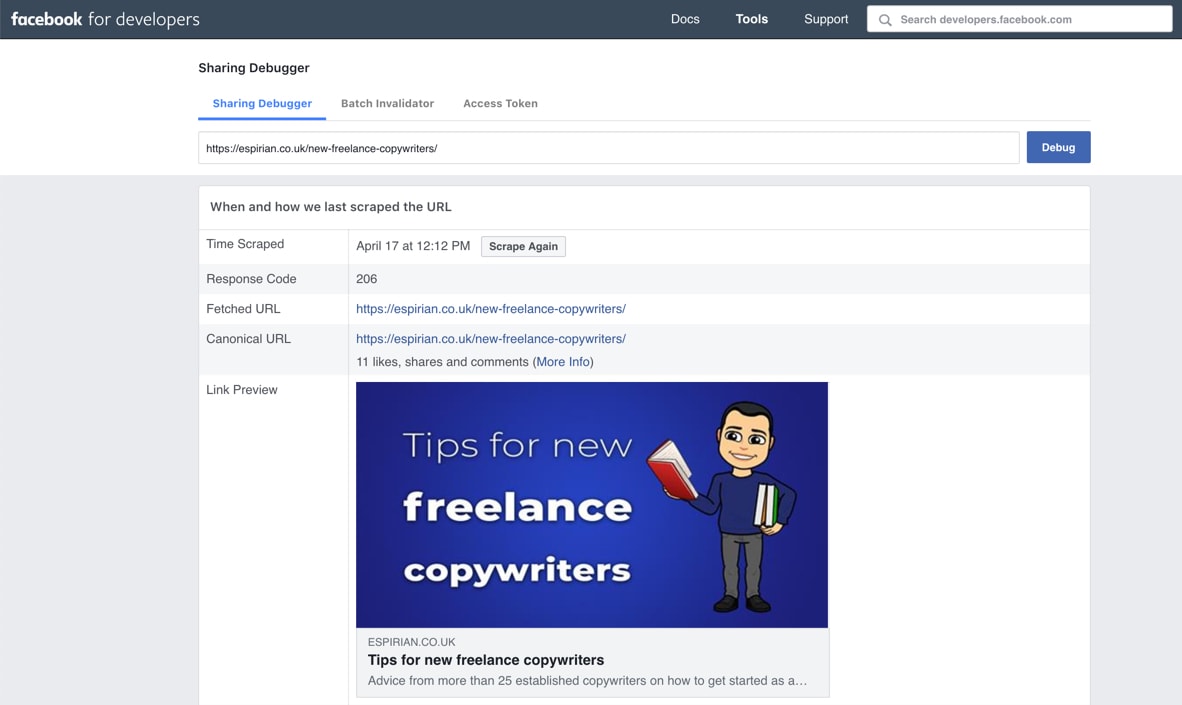
This replaces any outdated info with the new content you want to display when you share the link on social media.
Step 4: Share your link on social media
Once you’ve put your link through the relevant tools, you can share it on social media. There’s no need to wait before sharing.
And, because the preview information gets cached by the social networks, you can revisit old tweets and social posts to see that the preview information ought to have been updated there, too. You might need to refresh the page to see this.
There’s an example of an old tweet being magically updated in the video above.
Although this post shows you how to update link previews for LinkedIn, I don’t recommend posting links directly there.
Instead, I suggest you use the write-post-edit method. This should stop the LinkedIn algorithm trampling on the organic reach of your posts.
Let’s wrap up
This tip helps you ensure your content looks up to date when shared on social media. Whether you’ve gone for a full rebrand or just given your articles a lick of digital paint, make sure that your content has the same look and feel.
