
A quick and free way to help you spot errors in your writing
Here’s a quick tip to help you check written content on your Mac, using the text-to-speech feature.
Instead of reading the text out loud yourself, you can get your Mac to do it via a simple keyboard shortcut.
This is useful if you want to check the flow of your own writing or if you simply want to listen to content rather than read it. You can use this on web pages, emails, documents and pretty much anywhere that you can select text.
The feature is built in to all modern Macs – you just need to turn it on. Here’s how.
- Go to Apple | System Preferences.
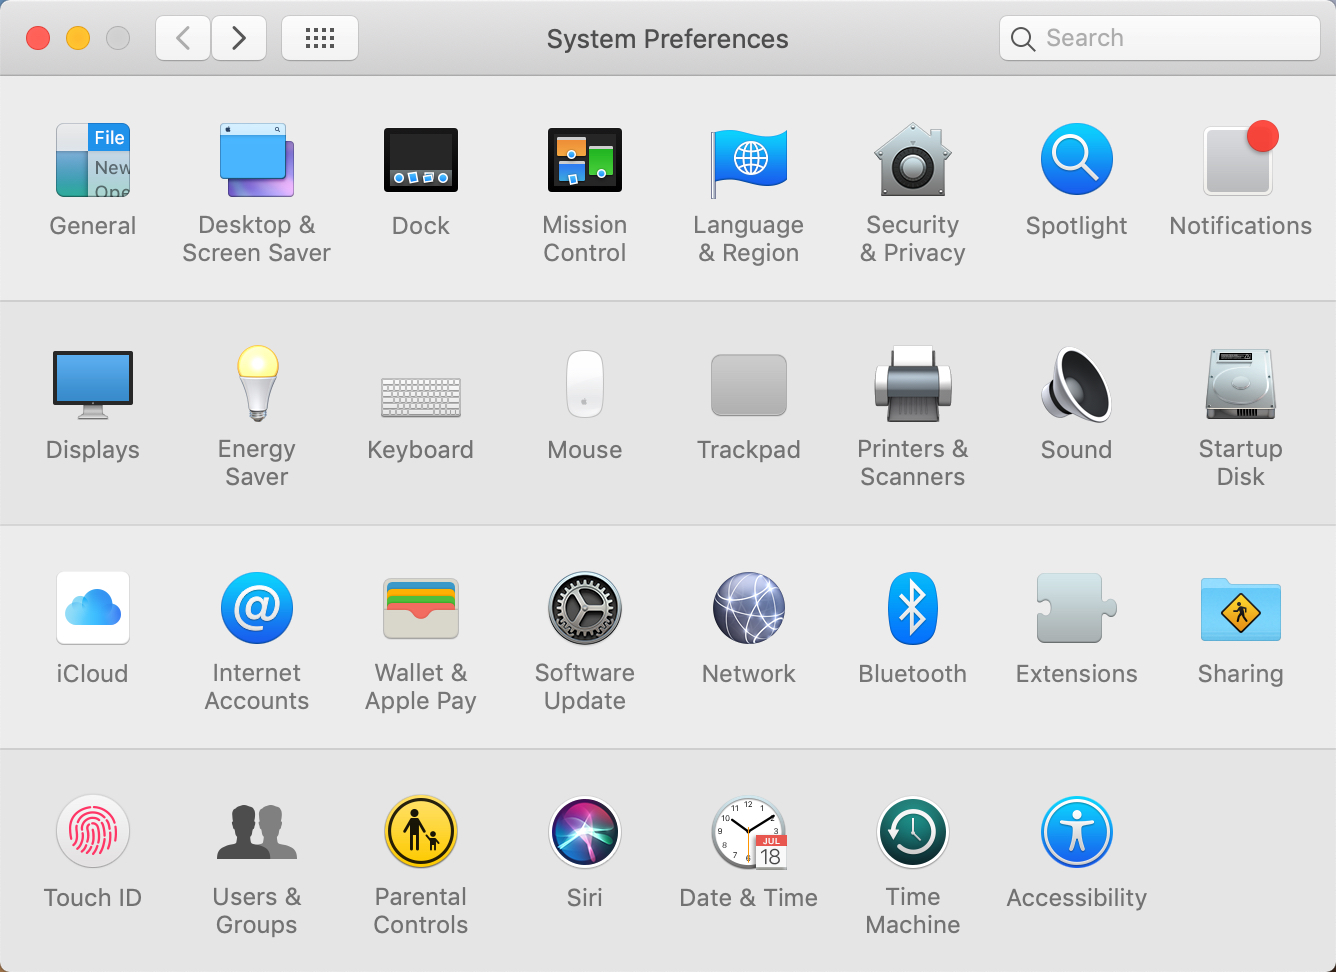
- Click Accessibility.
- Click Speech.
- Tick the box labelled Speak selected text when the key is pressed.
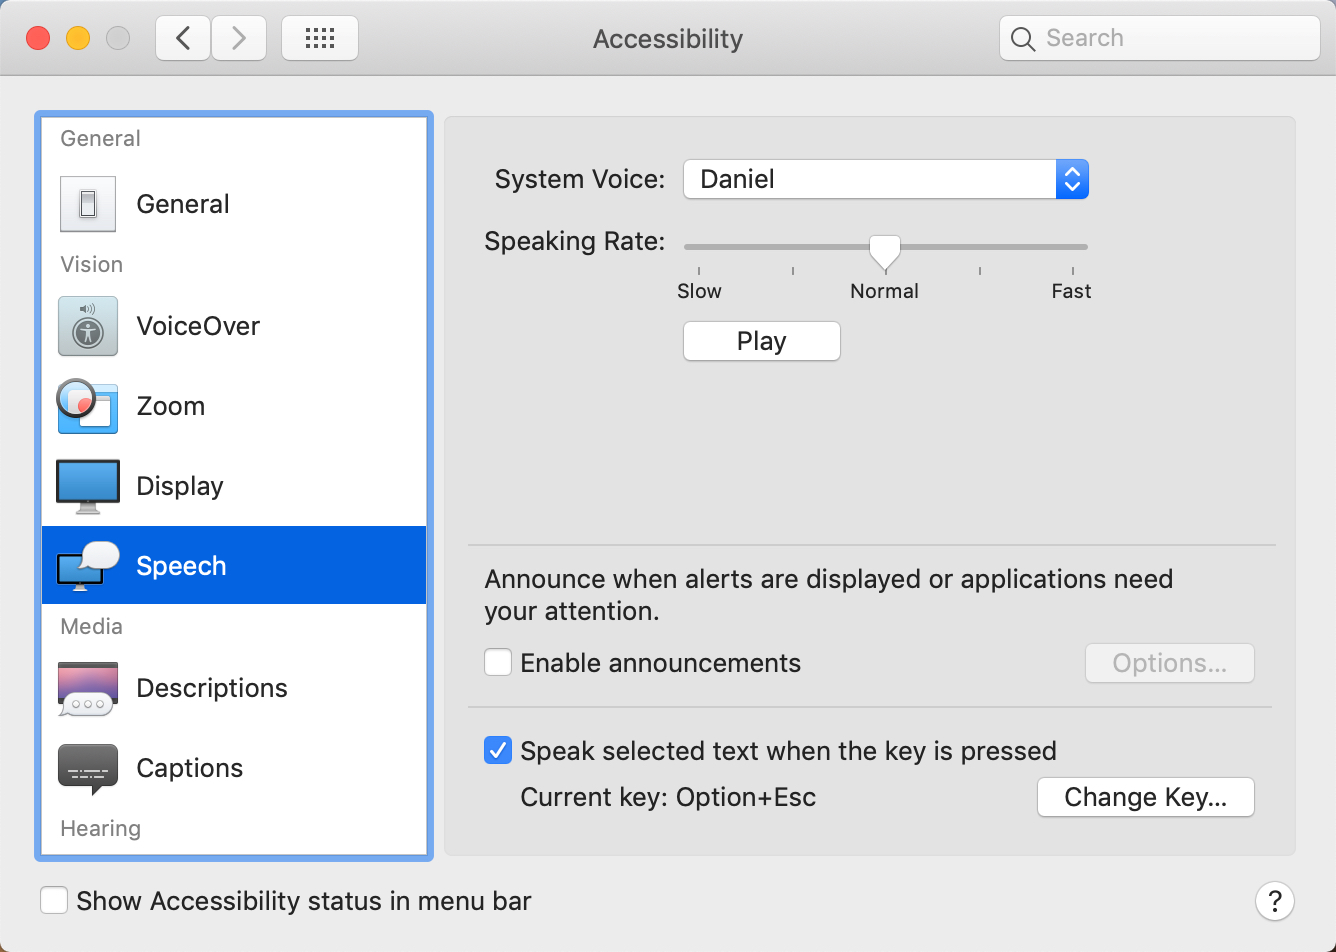
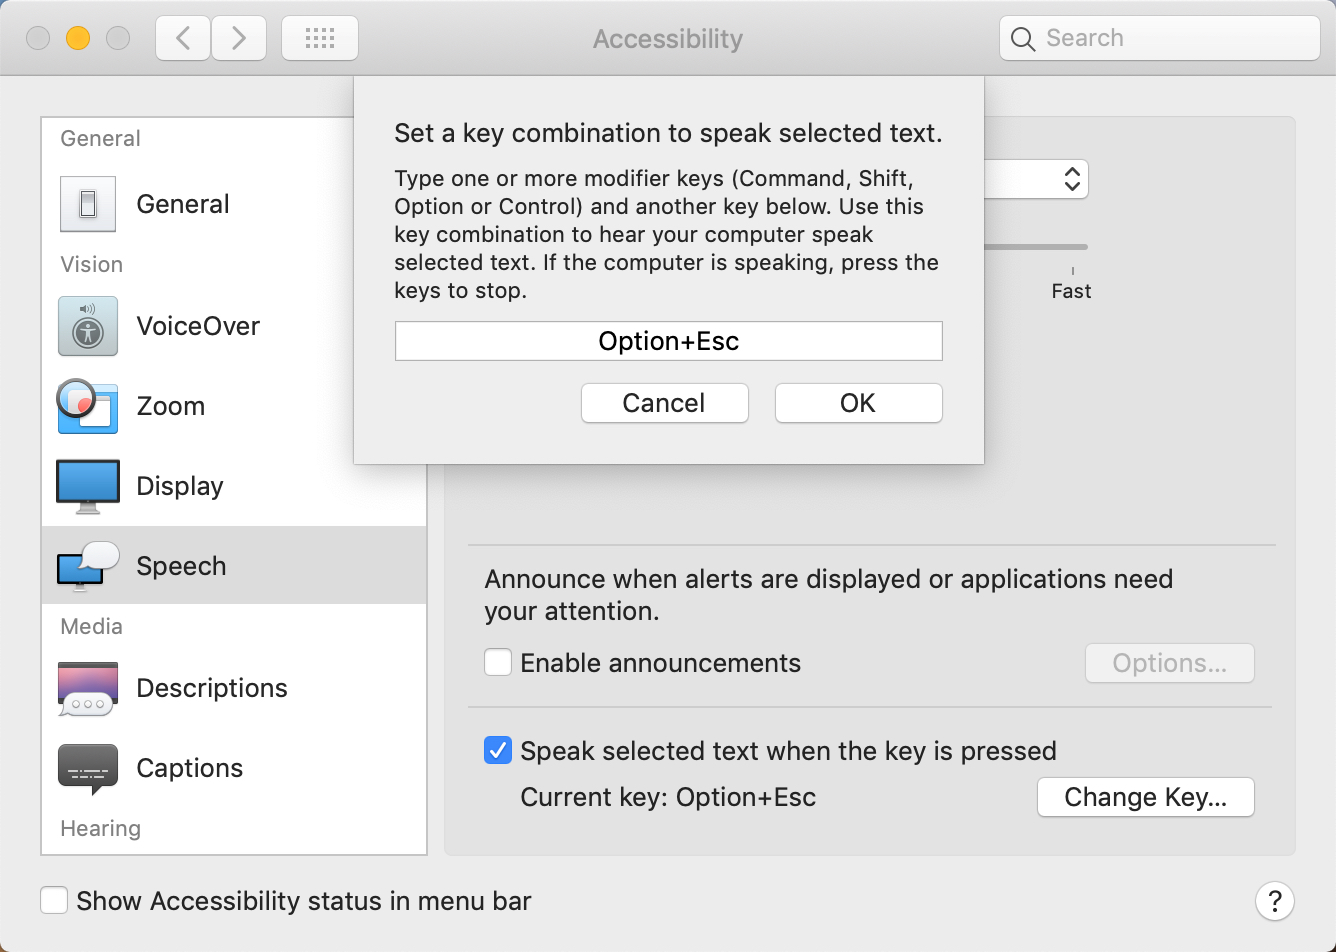
- Click Change Key… to select a different key combination from the default (optional).
- Click the System Voice dropdown menu.
- Click Customise….
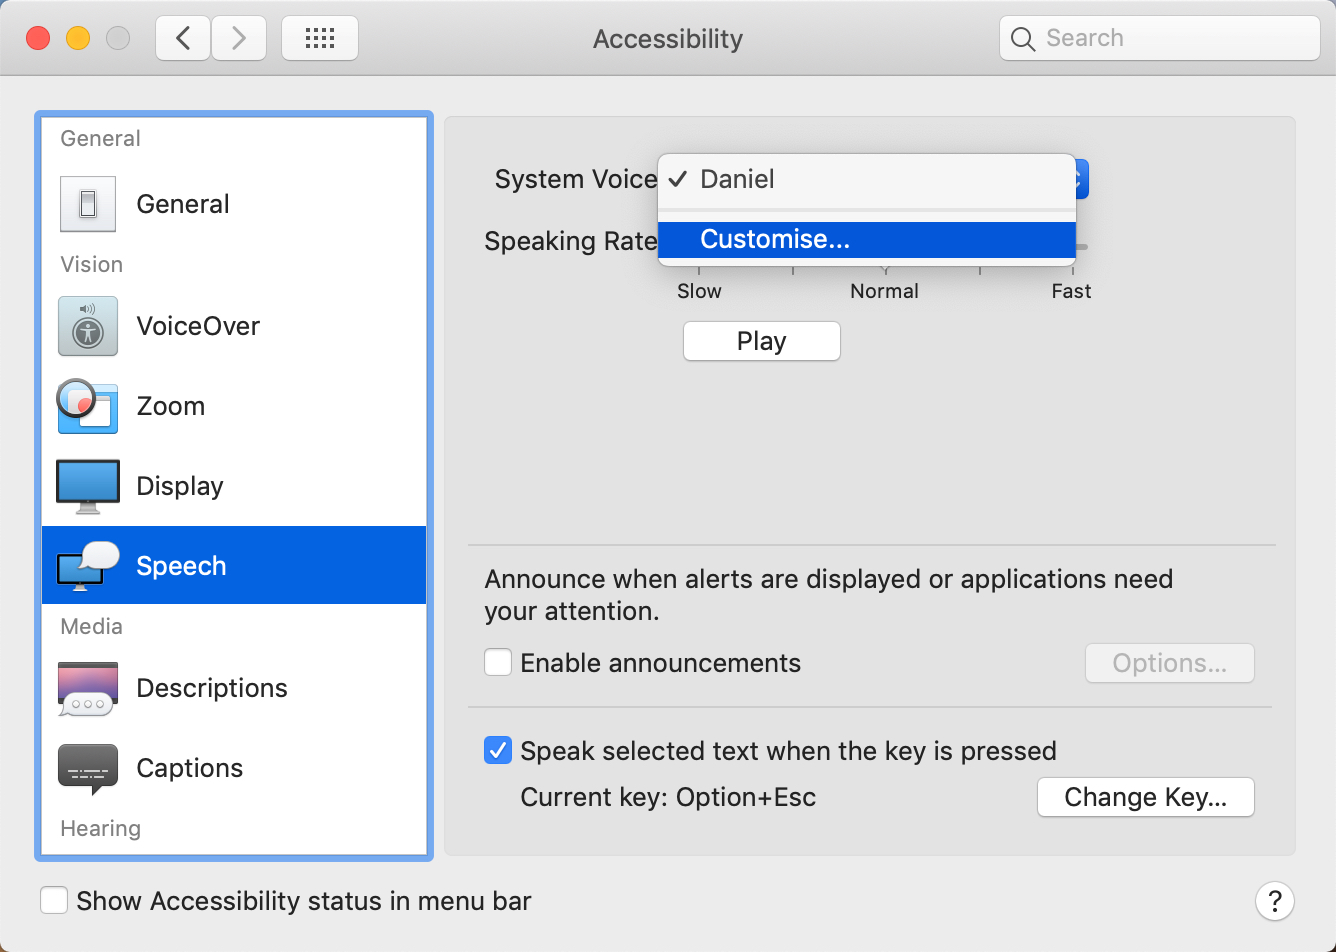
- Tick the relevant boxes to select which voices you want.
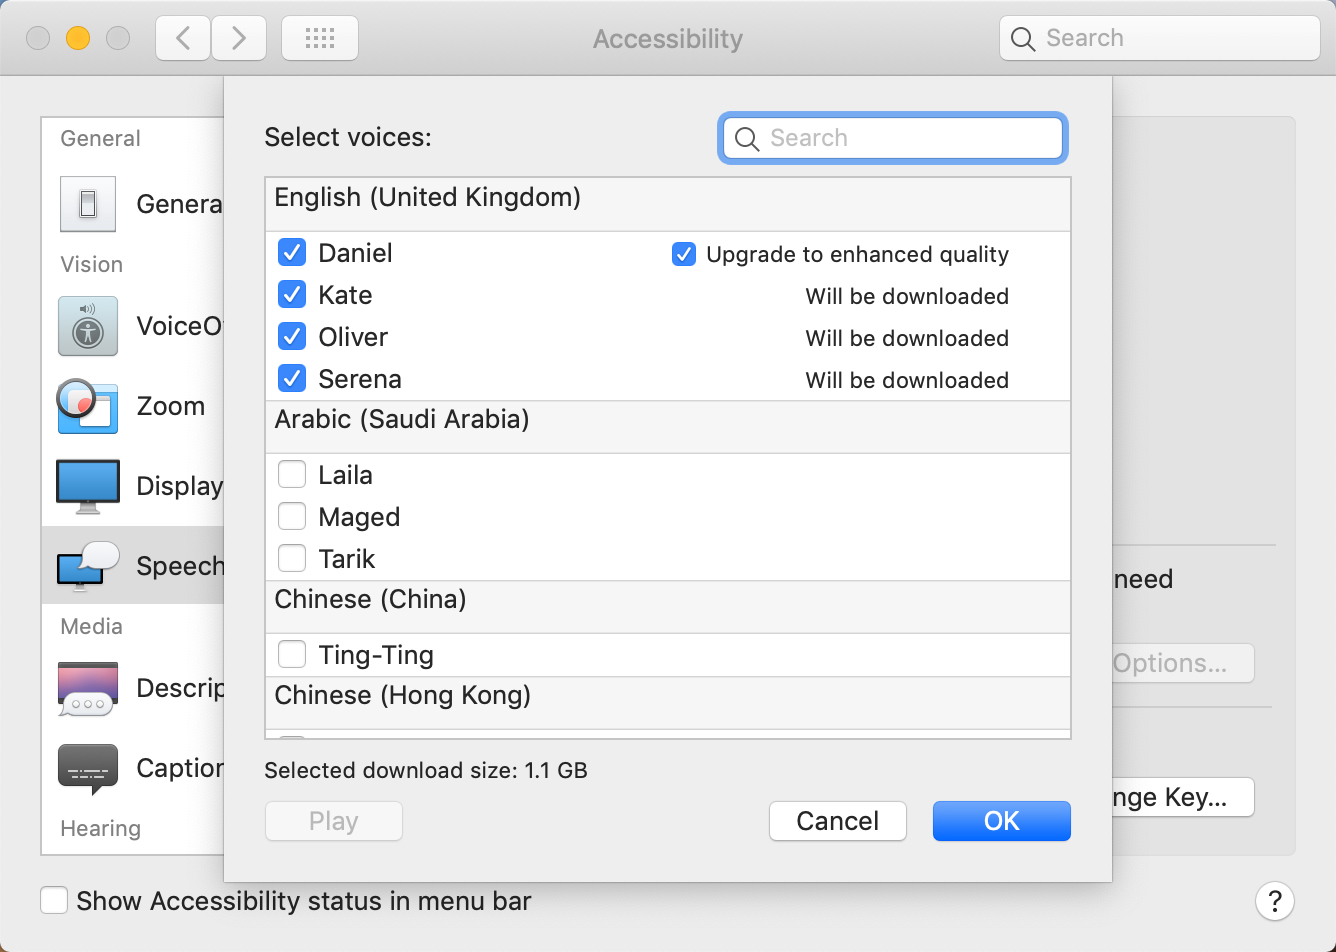
The example above shows that voice data needs to be downloaded to enable these additional voices.
In the UK, the default voice is Daniel. Leave the box labelled Upgrade to enhanced quality ticked to download a better version of his voice.
- Click OK to download the selected voice data, or click Cancel to stay with the default voice.
- If you have added new voices, click the System Voice dropdown menu again and select the desired voice.
- Use the Speaking Rate slider and Play button to test the voice.
Once you have done all of this, you can test your Mac’s text-to-speech function on a real piece of writing.
- Open a text document, email or web page.
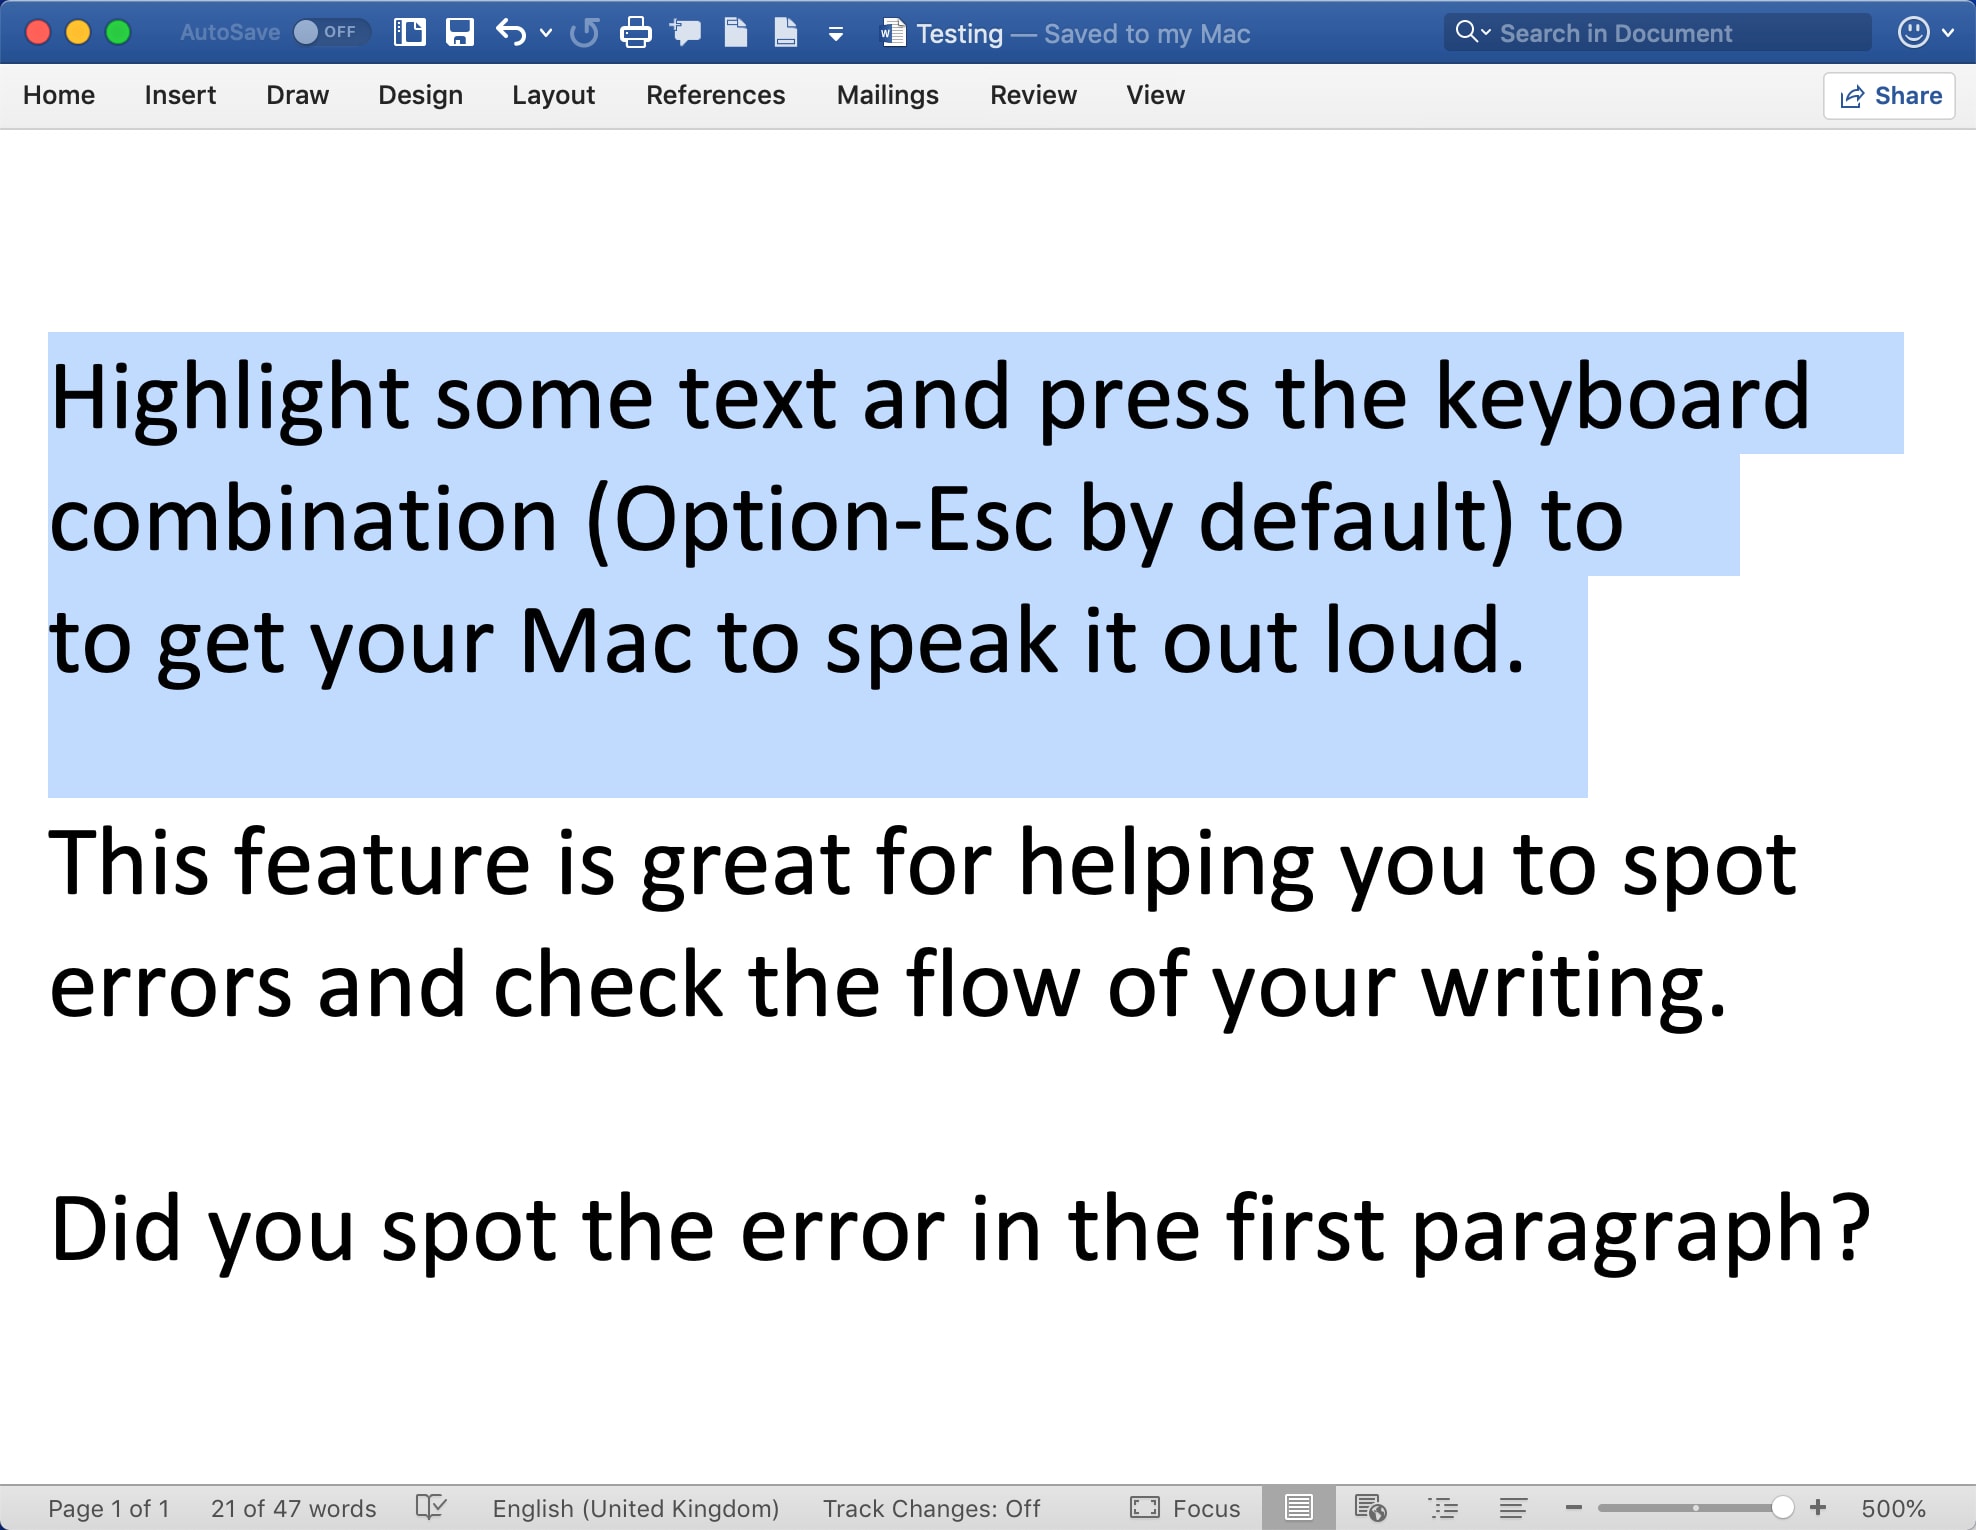
- Click and drag to select a portion of text (or press
Cmd-Ato select all text). - Press the key combination to speak the text.
- Press the same combination to stop speaking the text (there is no pause feature).
That’s it. Use this and my other tips on proofreading your own work to improve the standard of your writing.
For more Mac goodies like this, check out my Micro Mac Tips article, and follow #MicroMacTips on Twitter and LinkedIn.